- Specifications -
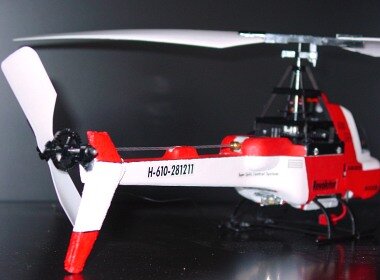
The size is 11 7/16" by 1 7/8" by 4 7/8" and it weighs about 3.5 ounces without the batteries due to it's styrofoam body. The main rotor's diameter is about 13 6/8", the tail is about 4". Radio control range is approx. 33 feet.
|
With the 7.2V 300mAh NiCd battery-pack, the flight time is around 1~3 minutes. The high current-needs prevent me from using those 1900mAh+ NiMh batteries, since they are rated to max 2A... Here are my current measurements. |
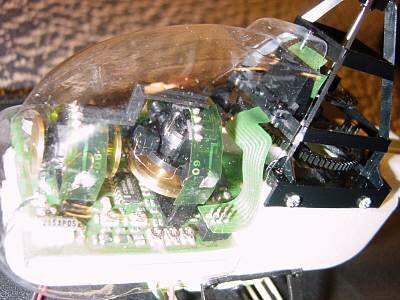
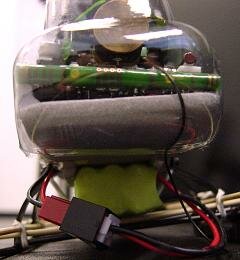
Even the sophisticated electronics make it hard to fly, thus the thrill... It took me at least 3 hours to calibrate the gyros using those 6 little potmeters in the foreground and I have already destroyed 5 sets of rotors, but learned a lot ( such as varying forces due to position and orientation changes and oh yes, that infamous ground effect ). Luckily - or is it that slowly improving skills of mine? -, there are definitely less rotor-blade changes required lately... The main rotor is fixed pitch and flybarless, while a separate, smaller motor drives the fixed pitch tail rotor via a cable. On this picture the 2 gold colored gyros are easily observeable : the two-axes "free gyro" for cyclic and the "rate gyro" for the tail yaw-axis, The angle of the blades can not be changed, there is no swashplate or linkages. Cyclic control is achieved by pulsed torque to the main motor which with gyroscopic effect, tilts the helicopter. Also, for this reason, the average lifetime of this $20 motor is about 10 hours... The pulse is timed correctly using an optical sensor and sensor plate that rotates with the main rotor, see picture below. Yaw control is simpler, with just changes to the tail motor speed. |

The rotor control system is using optical sensors ( the disk above the gears ) which made the realization of the pulsed torque cyclic movement possible. You can also see how the tail rotor's and the main rotor's motor is positioned. |

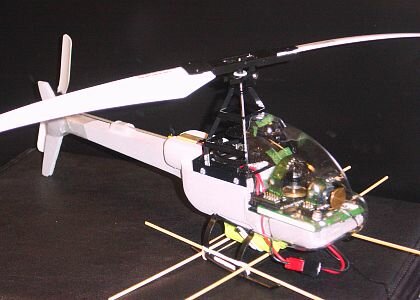
This is an older picture, when I broke the stablilizer on the tail, but fixed it with some tape. It worked well until it melted where I glued it. So, do NOT use those cyanoacrilate based "Crazy" Super Glues! ( I also read it on a Japanese fan site, that it's a generally good idea to reinforce the tail section with a piece of tape. ) Since than, I have reworked the tail, using a styrofoam cup from Jamba Juice and tailoring the bottom part of it to a tail. I used a 2 layered sandwich approach; I cut 2 sections and glued them together for added strength, that balanced the tail with lead-tape on the other side. I also reinforced the tail assembly using a hot melt glue gun. This is how it looks now after painting it : |